CrushGrind® Grinder Tutorial
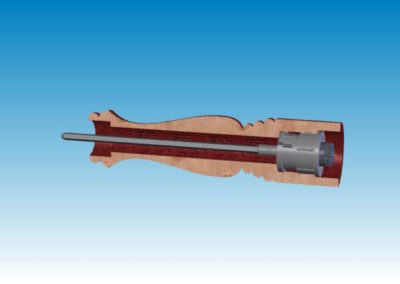
The following is a brief illustrated tutorial of how to produce a grinder from a fence post section, and a CrushGrind® grinder mechanism.
Clicking the images will enlarge them. You can also download a CAD drawing of showing the dimensions of the CrushGrind® mechanism here, and a written copy of these instructions here.
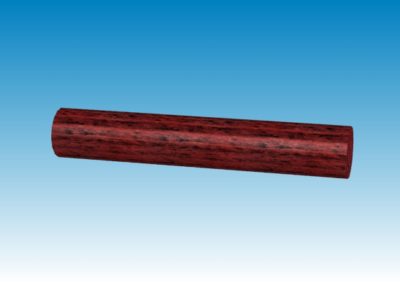
3. Mount in lathe between centres and bring to round – mount timber firmly at all times
4. Make sure you have a clean cut at each end and slightly undercut
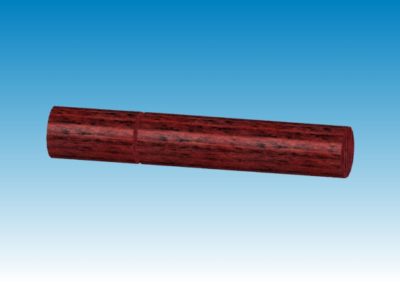
5. Measure off 240mm for body of unit and make a deep parting cut using the parting tool ensuring parts sit “flat” – balance of material is used as top (ideally you would have around 90mm to work with for the top)
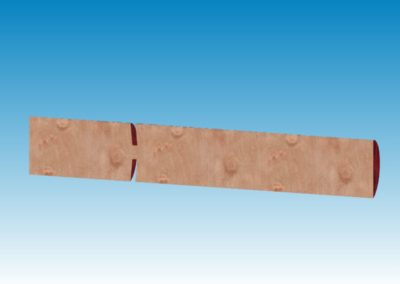
6. Remove from lathe and cut into two where you have parted7. Mark end centre point in piece to be used for body where you have just made the cut
5. Measure off 240mm for body of unit and make a deep parting cut using the parting tool ensuring parts sit “flat” – balance of material is used as top (ideally you would have around 90mm to work with for the top)
6. Remove from lathe and cut into two where you have parted
7. Mark end centre point in piece to be used for body where you have just made the cut
Turning the base
8. Remount the 240mm section with “parted” end in chuck
9. Take 45mm bit and drill to 20mm depth
11. Drill with 20mm – 25mm bit (depends on hole size required) to half way through the length of timber
12. Reverse timber
13. Check that timber is slightly undercut – rectify if required down to less than diameter of 25mm hole to be drilled
14. Use 35mm bit to drill to depth of 22mm
18. Mark out with pencil at key points on work
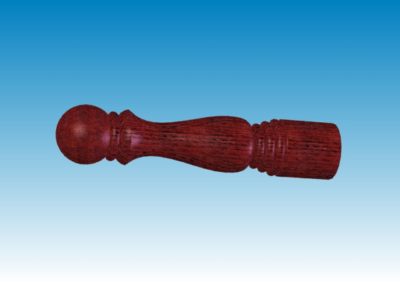
19. Carry out spindle turning to achieve design selected
20. After sanding and polishing remove from lathe and set aside.
Turning the top
21. Mount piece in lathe – top of the unit in the chuck to ensure timber grain flows through your work
22. Bring tail stock up to find centre
23. Take 22mm bit and drill receiving hole (approx. 50mm) – need to be deep enough to receive the drive spindle – always check for depth before inserting driver unit.
25. Turn top to design selected and match top to body of unit
26. Part off last section
27. Reverse the top and grip in chuck by spigot
28. Turn off remaining timber and blend in
29. Polish as required – because of handling and use, ideal to have a hard wearing surface – I have found Rustins Danish Oil the best
31. Test that when top is put on the driver spindle does not bottom out because 22mm not drilled deep enough – rectify by drilling deeper if required but be sure not to go too far – alternative is to shorten the drive spindle.
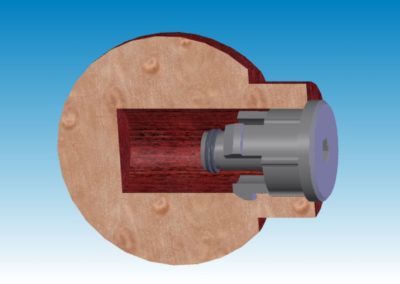
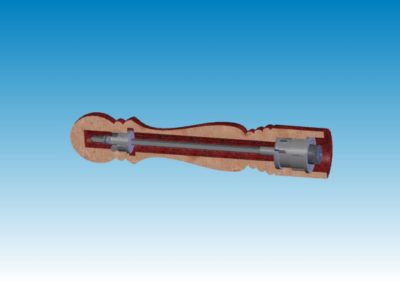
32. Insert drive unit

